
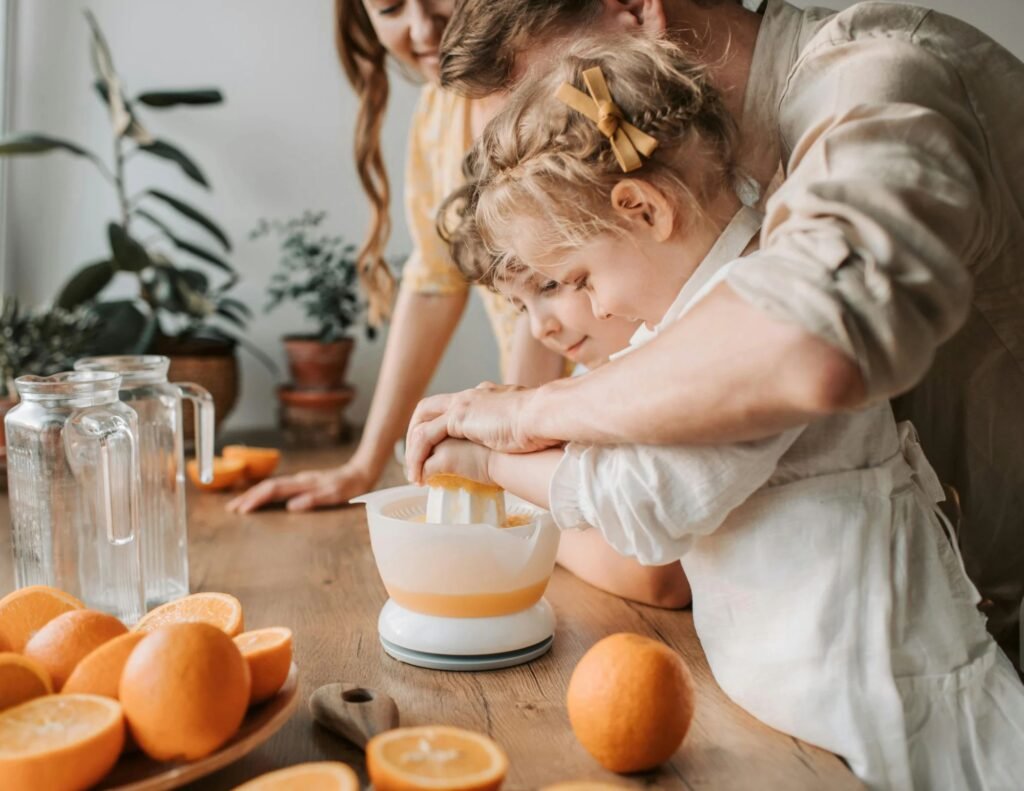
When you have children, one of the biggest things to consider is what life skills you provide them each day. One life skill you will want to teach them is how to cook and bake, since it’s one of the best ways for them to learn something essential. However, although we will discuss baking another day, we will talk about how to cook with your kids safely and efficiently.
Kids need to know the basics before cooking anything, such as washing their hands, how to hold a knife (and how not to), and how to cut properly. Also, teach your children age-appropriate skills, since a 2-year-old cannot do what a 12-year-old can, and vice versa.
In this article, we’ll discuss how to teach your kids to cook safely and efficiently. We’ll also discuss the best cooking activity for each age range. Essentially, the earlier you start, the better and easier it will be.
However, if you are starting to teach when your kids are a bit older, there is no need to worry, as all kids can learn how to cook! Whether you are an “early riser” or a “late bloomer,” you can still teach your children to cook successfully, no matter their age. We hope you enjoy and learn from this article, so without further ado, let us get started.
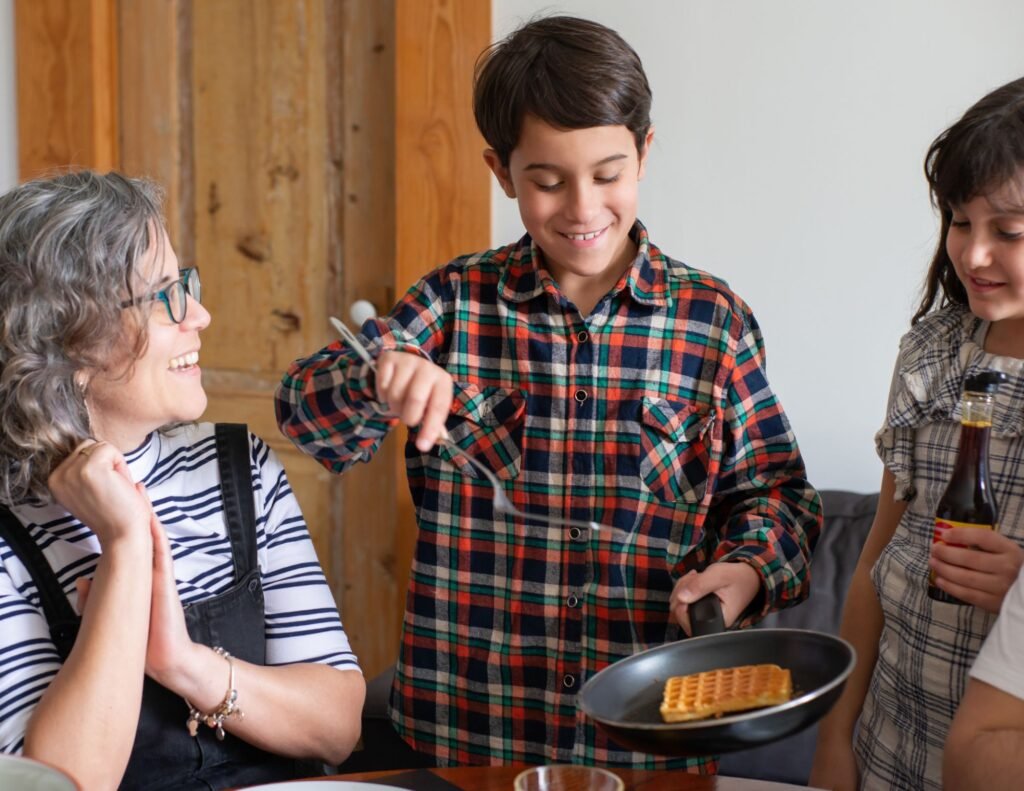
Why Should You Teach Your Kids to Cook?
The biggest reason to teach your children to cook is that it is a basic survival and life skill. Overall, if you don’t know how to cook, you are stuck with frozen meals, takeout, or restaurants. Although these luxuries are nice sometimes, they mean you can’t make your own food.
On top of that, if you live somewhere with limited restaurant options but want to keep your culture alive (especially if you are from another country), not knowing how to cook will limit your choices. Even so, there are other reasons why it is wise to teach your children to cook:
Life Skills & Self-Sufficiency
- Builds confidence
- Creates independence
- Helps kids understand planning and budgeting (if you meal plan ahead)
Connections with the Family
- Kids spend more time with their parents
- Traditions are shared
Health & Nutrition
- Promotes healthy eating habits (especially if you are an ingredient-focused household)
- Kids learn that cooking = controlling what ingredients go in
- Can minimize picky eating
Provides Academic & Cognitive Development
- Math: Measuring ingredients, scaling proportions, and working with fractions and geometry.
- Reading comprehension: Kids can read ingredients or instructions to you.
- Chemistry and science: Kids can observe how heat transforms ingredients from one state to the next and how yeast dough rises.
- Fine motor skills: Kids can knead dough, stir, whisk, and spread butter, building coordination and physical control.
What Is the Best Way to Cook With Your Kids? (Age-By-Age Guide)
As we said before, your children need to learn different skills at different stages. If you are not sure what age can do what cooking activity, we have broken it down into sections for you.
However, it is important to note that all children are different and learn at their own pace, so if your child does not know something you think they should, keep being patient with them, and they will be cooking pros in no time! It is also imperative to consider teaching all children basic food safety before helping them with anything else beforehand. Here are some good lessons to learn:
1. Good Hygiene
The first thing your child needs to learn about is having good hygiene. Although it is self-explanatory, children need to wash their hands with soap before handling any food. Also, wipe down surfaces, especially if your kitchen is dirty. We also suggest cleaning the kitchen thoroughly before cooking.
Lastly, make sure you clean the dishes afterward to prevent bacteria or germs from building up over time. With younger children, you can have them “help” clean some dishes, while older kids can load and unload the dishwasher and do the dishes themselves. No matter how you do it, good hygiene is essential for a successful cooking journey!
2. Keep Food Items Separate
Next, teach your children to keep food items separate. For example, don’t cook raw chicken with uncooked pasta, or vice versa.
Also, use different cooking utensils for different items. For example, do not use a utensil used for cooking ground beef for vegetables. It is also wise to keep a clean plate or spoon rest so you do not put a utensil used for raw food on a surface you just cleaned.
Lastly, keep backpacks and school items off the counter because they may carry germs. If you can, *wash items in the washing machine regularly.
3. Cook to Safe Temperatures
If you cannot tell if food is thoroughly cooked, we recommend getting a food thermometer. Instant-read thermometers, like this one, are best because you don’t have to wait several seconds to see the food’s temperature.
Also, after you finish cooking meats, let them rest for a few minutes. This lets the juices soak back into the meat, keeping it tender instead of drying out right away.

Age-Appropriate Kitchen Tasks for Children
As mentioned above, we will discuss what age-appropriate kitchen tasks you can have your child do. In their first few years, children should never handle heat or fire, but they can do what is listed below. Let us review what they are below.
1. Ages 2-3
It goes without saying that a 2- to 3-year-old child should have adult supervision at all times. This is for many reasons, but one is that your child will put almost everything in their mouth, so teaching them the importance of good hygiene, washing produce, and using clean utensils and appliances is extremely important.
Letting your 2- to 3-year-old help cook can also help them develop fine motor skills. They will need constant reminders at this age, so it is important to remain patient and understanding.
Tasks to Do:
- Wash hands with warm, soapy water for roughly 20 seconds. 3
- 5crtMake this fun by singing “Twinkle Twinkle Little Star” or something familiar.
- Snapping green beans
- Cut cookies into fun shapes with cookie cutters.
- Wipe down tables and hard surfaces with a rag (you can also help spray a non-toxic cleaner).
- Wash fruit and vegetables with cool tap water.
- Handing specific ingredients (flour, chocolate chips, fruit, veggies, etc.)
- Mix ingredients.
- Tearing bread and herbs.
- Setting the table (depending on maturity, we would recommend giving them one kid-safe plate at a time)
2. Ages 3-5
At this age, depending on your child’s maturity, they can do more kitchen tasks. They are still developing their fine motor skills, so keep this in mind as you teach them.
Tasks to Do:
- Mash potatoes
- Brush cooking oil or butter on top of specific foods (breads, vegetables, etc.) Think of this as “painting” the food with a basting brush.
- Crack open eggs (then wash hands afterward).
- Measure and pour.
- Learning the basics of wiping and sweeping.
3. Ages 5-7
At this age, most of your child’s fine motor skills are developed, and they can handle more detailed work without needing as much help. However, it is important to continue reminding them of safety.
Tasks to Do:
- Load and unload the dishwasher (younger kids will not be able to unload sharp items, so you’ll need to do this for them).
- Scoop avocados after an adult slices them in half.
- Rinse and cut certain greens like green onions, parsley, spinach, lettuce, etc.
- Peel potatoes, carrots, apples, ginger, etc. (Make sure the peel faces away from you, not toward you.)
- Grate and zest.
4. Ages 7-9
At this age, your child has reached a level of maturity where they can perform many tasks, but it is also wise to know whether they can handle each one. At this age, your child should consistently wipe down all surfaces to keep their workspace clean and put perishable items back in the fridge when they are finished.
Tasks to Do:
- Use a can opener.
- Beat eggs in a container.
- Pound chicken on a cutting board (make sure raw meat is separated from other items you cut).
- Put leftovers away and refrigerate within 2 hours of being cooked. Make sure the leftovers are cool enough that they won’t burn your child.
- Check the temperature of food with a meat thermometer.
- Can cook stovetop basics with a parent nearby (eggs, flip pancakes, brown ground meat, French toast, etc.)
5. Ages 9+
Most 9+ year old children can work independently in the kitchen, but adult supervision is still strongly advised, as accidents can happen and your kid is still learning, after all! Before you allow your child to cook on their own, it is wise to assess them first.
For example, see how they handle unplugging unused appliances, use knives safely, know when to use an oven or microwave, and adjust pan handles over the stove properly to avoid hot liquids spilling all over them, while also avoiding bumping into them while they cook. Overall, these are all imperative to helping your child learn to do things well and become a successful chef!
Tasks to Do:
- Boil pasta
- Microwave foods
- Simmer ingredients on the stove.
- Bake foods in the oven
- Chop or slice vegetables
- Follow a step-by-step recipe
- Prep raw meat safely
- Master specialty tools (vegetable peelers, box graters, food processors, etc.)
- Bake from scratch independently
- Control heat and timing for when food is finished
Heat Safety Guide (Age-By-Age)
As with everything, it is important to know what is an age-appropriate time to start handling heat, especially if they have never dealt with it before. Whether they are 6 or 12, it is always important to teach them about heat safety first. Although all of this is self-explanatory, it is wise to explain the following to children:
- Invisible heat: Although you cannot see heat, objects can still be hot; for example, if a stovetop is turned off, the pots, pans, food, or stove area can still be hot for some time afterward.
- Teach proper mitt safety: Discuss why we use oven mitts, as they are thick and designed for heat safety, rather than regular towel cloths.
- Review what to do if a burn occurs: Make sure kids run cool water over a burn instead of using cold water or putting ice on it right away. Also, call an adult right away if a burn happens.
- Never leave heat unattended: Show your children that when you are cooking, heat should never be left unattended. You can explain that anything can boil over or burn within seconds of just “being right back,” so to speak.
- Dress for the stove: Roll up your sleeves, put your hair up, and avoid baggy clothes that can easily catch on fire around heat.
- Do a “cold run” before cooking: Show your children how to handle pots safely with the heat off, rather than while the heat is on. It is also important to show your child how to hold the pot or pan with one hand while stirring with the other to ensure it remains steady.
- Teach your child how to avoid steam burns: Once the microwave has finished, make sure their face stays away from the hot steam that is about to come out. The same goes with boiling water or vegetables on a stove.
1. Ages 2-5
It is important to note that between the ages of 2 and 5, children should never deal with heat. If you are going to be making homemade pizza, for example, show your children how to dress the toppings, then place it in the oven without their assistance. Another thing you can do is, if you have them help you crack an egg on the stove burner, make sure the burner is completely off beforehand.
2. Ages 6-8
Once your child understands heat boundaries, they can start with very simple kitchen tasks. Here are a few things for you to consider your child doing:
- Scrambling eggs
- Toasting nuts or spices
- Make grilled cheese
- Flip pancakes
- Stir sauces and soups
- Use a toaster or toaster oven
- Heat or reheat food in the microwave
- Operating a waffle iron or electric griddle
- Load and unload cold or warm pans from the oven
3. Ages 9-11
As your child matures and becomes more careful, they can do even more on the stove and with other heating elements. Here are some things your kids can learn around this age:
- Brown and sauté foods
- Boil rice, pasta, and other grains
- Preheat and load the oven
- Safely remove hot pans
- Cook advanced egg dishes, like omelets
- Flip griddle foods
- Roast and bake independently
- Check the temperatures of food
- Safely boil water
- Handle oil and splatter
4. Ages 12+
Lastly, your child around the age of 12 can do quite a few things independently. In addition to everything listed above, they can perfect their cooking skills. Here are some things to expect with a 12+ year old:
- Utilizing air fryers, waffle makers, and griddles
- Operate slow and pressure cookers
- Handle hot beverages and liquids
- Bake more complex recipes independently
- Roast heavy pans and meats
- Can utilize outdoor grilling (checking with an adult first)
- Use the broiler with close adult supervision
- Check all dials when finished; make sure each one is completely off
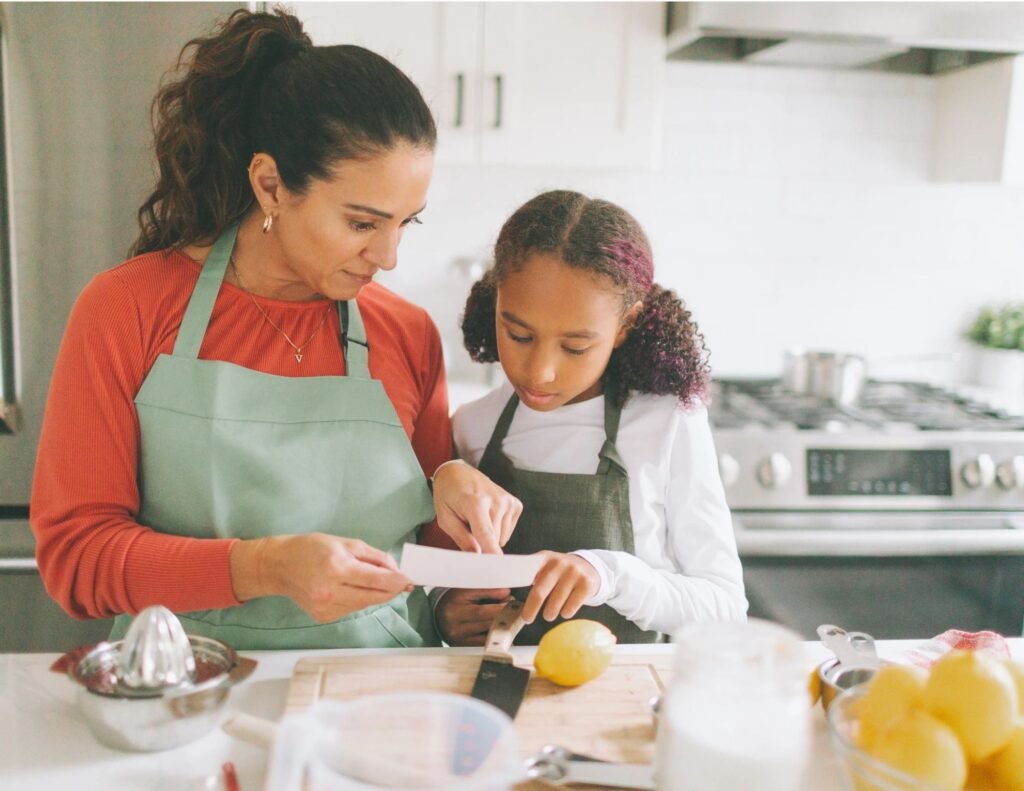
What Items Do You Need for Successful Cooking?
Before cooking with children, it is wise to get these specific items. Although they may not be 100% necessary, using these items can help ensure successful cooking.
1. Fitted Apron
One of the best things you can get for your child, regardless of their age, is a fitted apron. A fitted apron is different from a regular one because it has a fitted or cross-back design, which is better for your neck and shoulders than a single neck loop, which can pull down and strain them.
Another benefit of a fitted apron is that it keeps your clothes much cleaner. For example, if you are baking bread with your kids, one of the last things you want is flour getting all over your shirt and pants, especially if it is a batter-like consistency; if it stays on the apron, it is not as big of a deal.
Lastly, it might be a bit difficult to find a fitted apron for children online. However, we recommend starting them off with something like these for now.
2. Designated Kids’ Kitchen Drawer or Shelf
If you want your children to start cooking regularly at home, it is wise to provide a designated cooking drawer they can go to every time. For example, if you are cutting fruit or vegetables, you can ask your 5-year-old to get their kid-friendly knife to help. On top of this, giving them a specific space to go builds independence and practical motor and life skills.
3. Sturdy Stepstool or Learning Tower
It goes without saying that countertops are not kid-friendly, mainly because of their height. However, there are great tools you can invest in to help your kids join the cooking process. A few options include a sturdy stepstool or the famous learning tower, which many parents praise as one of the best purchases they’ve made!
It’s worth noting that although you can use a chair, it might not be the safest option, as your little one could lean too far, the chair could scoot, or they could fall. It might also be wise to place something on the floor under the object they are standing on that won’t scoot around, like a rubber mat or something similar, to ensure their safety. Some stepstools already have this feature, whereas others do not.
4. Recipe Cards at Eye Level
Some suggestions for recipe cards are to laminate them and make them into a small ring booklet. Once you need said recipe, take it out and let your kids read the recipe cards at eye level. On top of this, you can easily place a recipe book on the counter and have them help you read what is needed (if they are at reading level yet) and go that route.
5. Clean-up Station
If you don’t already have a cleaning station for children, we recommend using a space where your kids can go to help clean after cooking is finished. This can look like having the following items:
- Kid-safe cleaning spray on hand
- Sponges
- Dishcloths
- Paper towels
- Trash bin
Some tips for keeping the cleaning station going strong are using labels and using a good cleaning routine right after cooking to reinforce good habits. Doing this regularly promotes responsibility, cleanliness, and confidence.
How to Set Yourself Up for Success When Teaching Kids How to Cook
There are many things you can do to set yourself up for success when teaching kids how to cook. The biggest thing you can do is educate yourself about cooking and what you should teach your children first. These two things are important because if you don’t know how to cook, it will be extremely difficult to teach your children, and it will help you better understand what is age-appropriate.
You also want to make cooking fun! You can do this in many ways, such as letting your child pick the dish they want to cook, creating a timed challenge to see who can do it fastest, or using fun ingredient names.
The last piece of advice to set yourself up for success when teaching children how to cook is quite simple: supervise. It is good for children to make mistakes, but if they put all the salt in one recipe, that will not be good. Guiding your kids in every step is an excellent way to ensure they will learn well.
1. Start On the Weekend or Any Day You Stay Home the Most
Most households have working parents, so starting on a weeknight can be overwhelming and less productive than starting on the weekend. We recommend doing it when there are no special events. However, if you are a stay-at-home parent, using the time you have at home is beneficial too, since you can start teaching your children to cook anytime.
2. Accept the Mess Kids Make
Suppose you are baking banana bread and your child wants to help crack an egg or help measure flour. In this case, it might become messy extremely fast. However, accepting the mess your child makes is a part of life. Sure, you might lose a bit of the ingredients along the way, but at least your kiddo will be proud of themselves for doing a fantastic job!
3. Don’t Be Overcorrective
As someone who cooks often for the family, I know what it is like to want everything to be perfect. You have a specific way you want the meal to go, only for it to be “ruined” by little hands. However, you mustn’t overcorrect, as this can deter them from wanting to learn how to cook in the first place. Instead, let your child figure things out before you get too involved. You can also show them first, then let them do it afterward.
4. Start With Simple Recipes
It is wise to start with kid-friendly recipes that are not too difficult for them to understand. For example, you can easily make homemade pizza and let your child put on all the toppings. However, roasting an entire turkey on Thanksgiving Day will be more challenging for a first-timer.
5. Give Your Kids Ownership of One Meal
Whether you meal plan for the entire month or do it week by week, it is wise to give your kid ownership of one meal. We recommend letting them choose one meal per week to ensure they get what they want to eat every so often.
If you have multiple children, you can do one kid per week or multiple per week and alternate who gets what night. If you have a child whose name begins with M, for example, then you can name it “[Child’s Name] Monday’s” or something similar. Either way, it is whatever you prefer. This way, your child can get excited about their specific meal and look forward to cooking it alongside you.
Conclusion
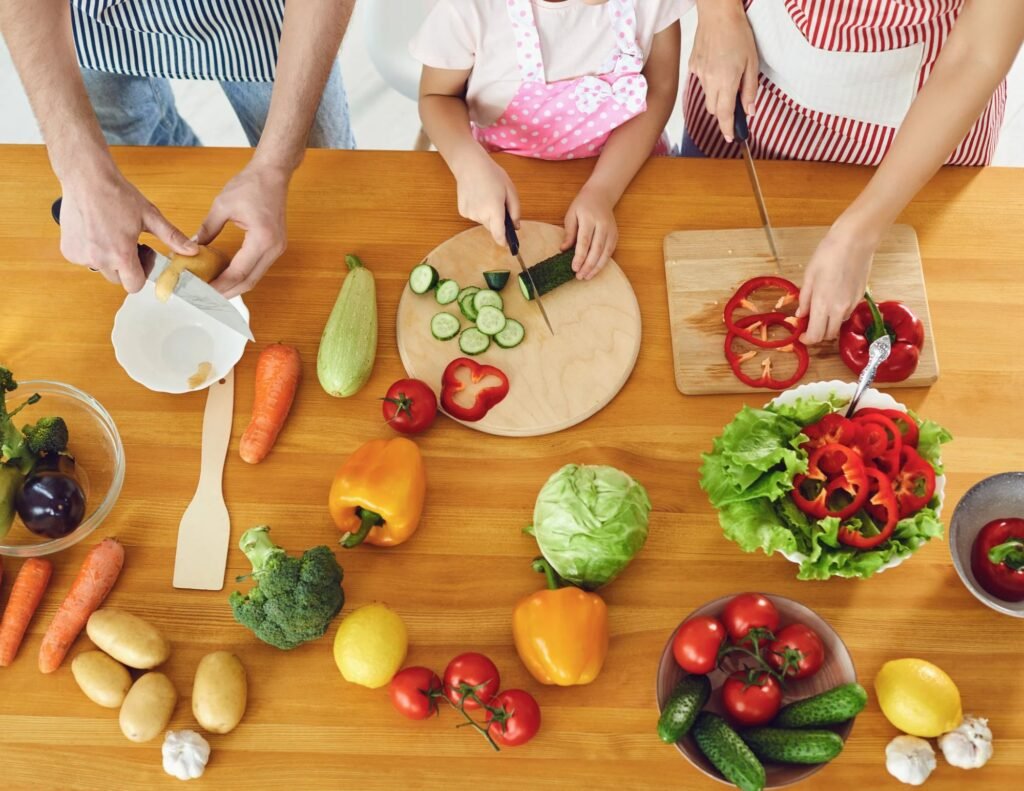
To summarize, there are many wonderful ways you can help your child learn to cook successfully, but the best thing you can do is meet them where they are and work your way up. We hope these tips were helpful. If you have any questions about anything in the kitchen, we’ve got you covered at Comfy Kitchen. We wish you the best in your and your children’s kitchen needs, and happy cooking!